
Ever looked through a telescope and wished you could save what you saw? Astronomical sketching is a simple way to slow down, notice more detail, and remember the view long after the night ends. To sketch a deep-sky object, you carefully observe it through your telescope, note its shape and brightness, and draw what you truly see—not what photos show—using light pencil strokes and patience.
What Is astronomical sketching
Deep-sky objects are things beyond our solar system. This includes nebulae, galaxies, and star clusters. Sketching them means drawing their faint shapes as your eyes see them at the eyepiece.
It’s not about making art. It’s about learning to see better.
What You Need Before You Start
You don’t need fancy tools. Keep it simple.
- A telescope or binoculars
- A red flashlight (protects night vision)
- Plain white paper or a sketch pad
- A soft pencil (HB or 2B works well)
- An eraser
- Warm clothes and time
That’s it.
Step-by-Step: How to do astronomical sketching
1. Choose an Easy Target First
Start with bright objects:
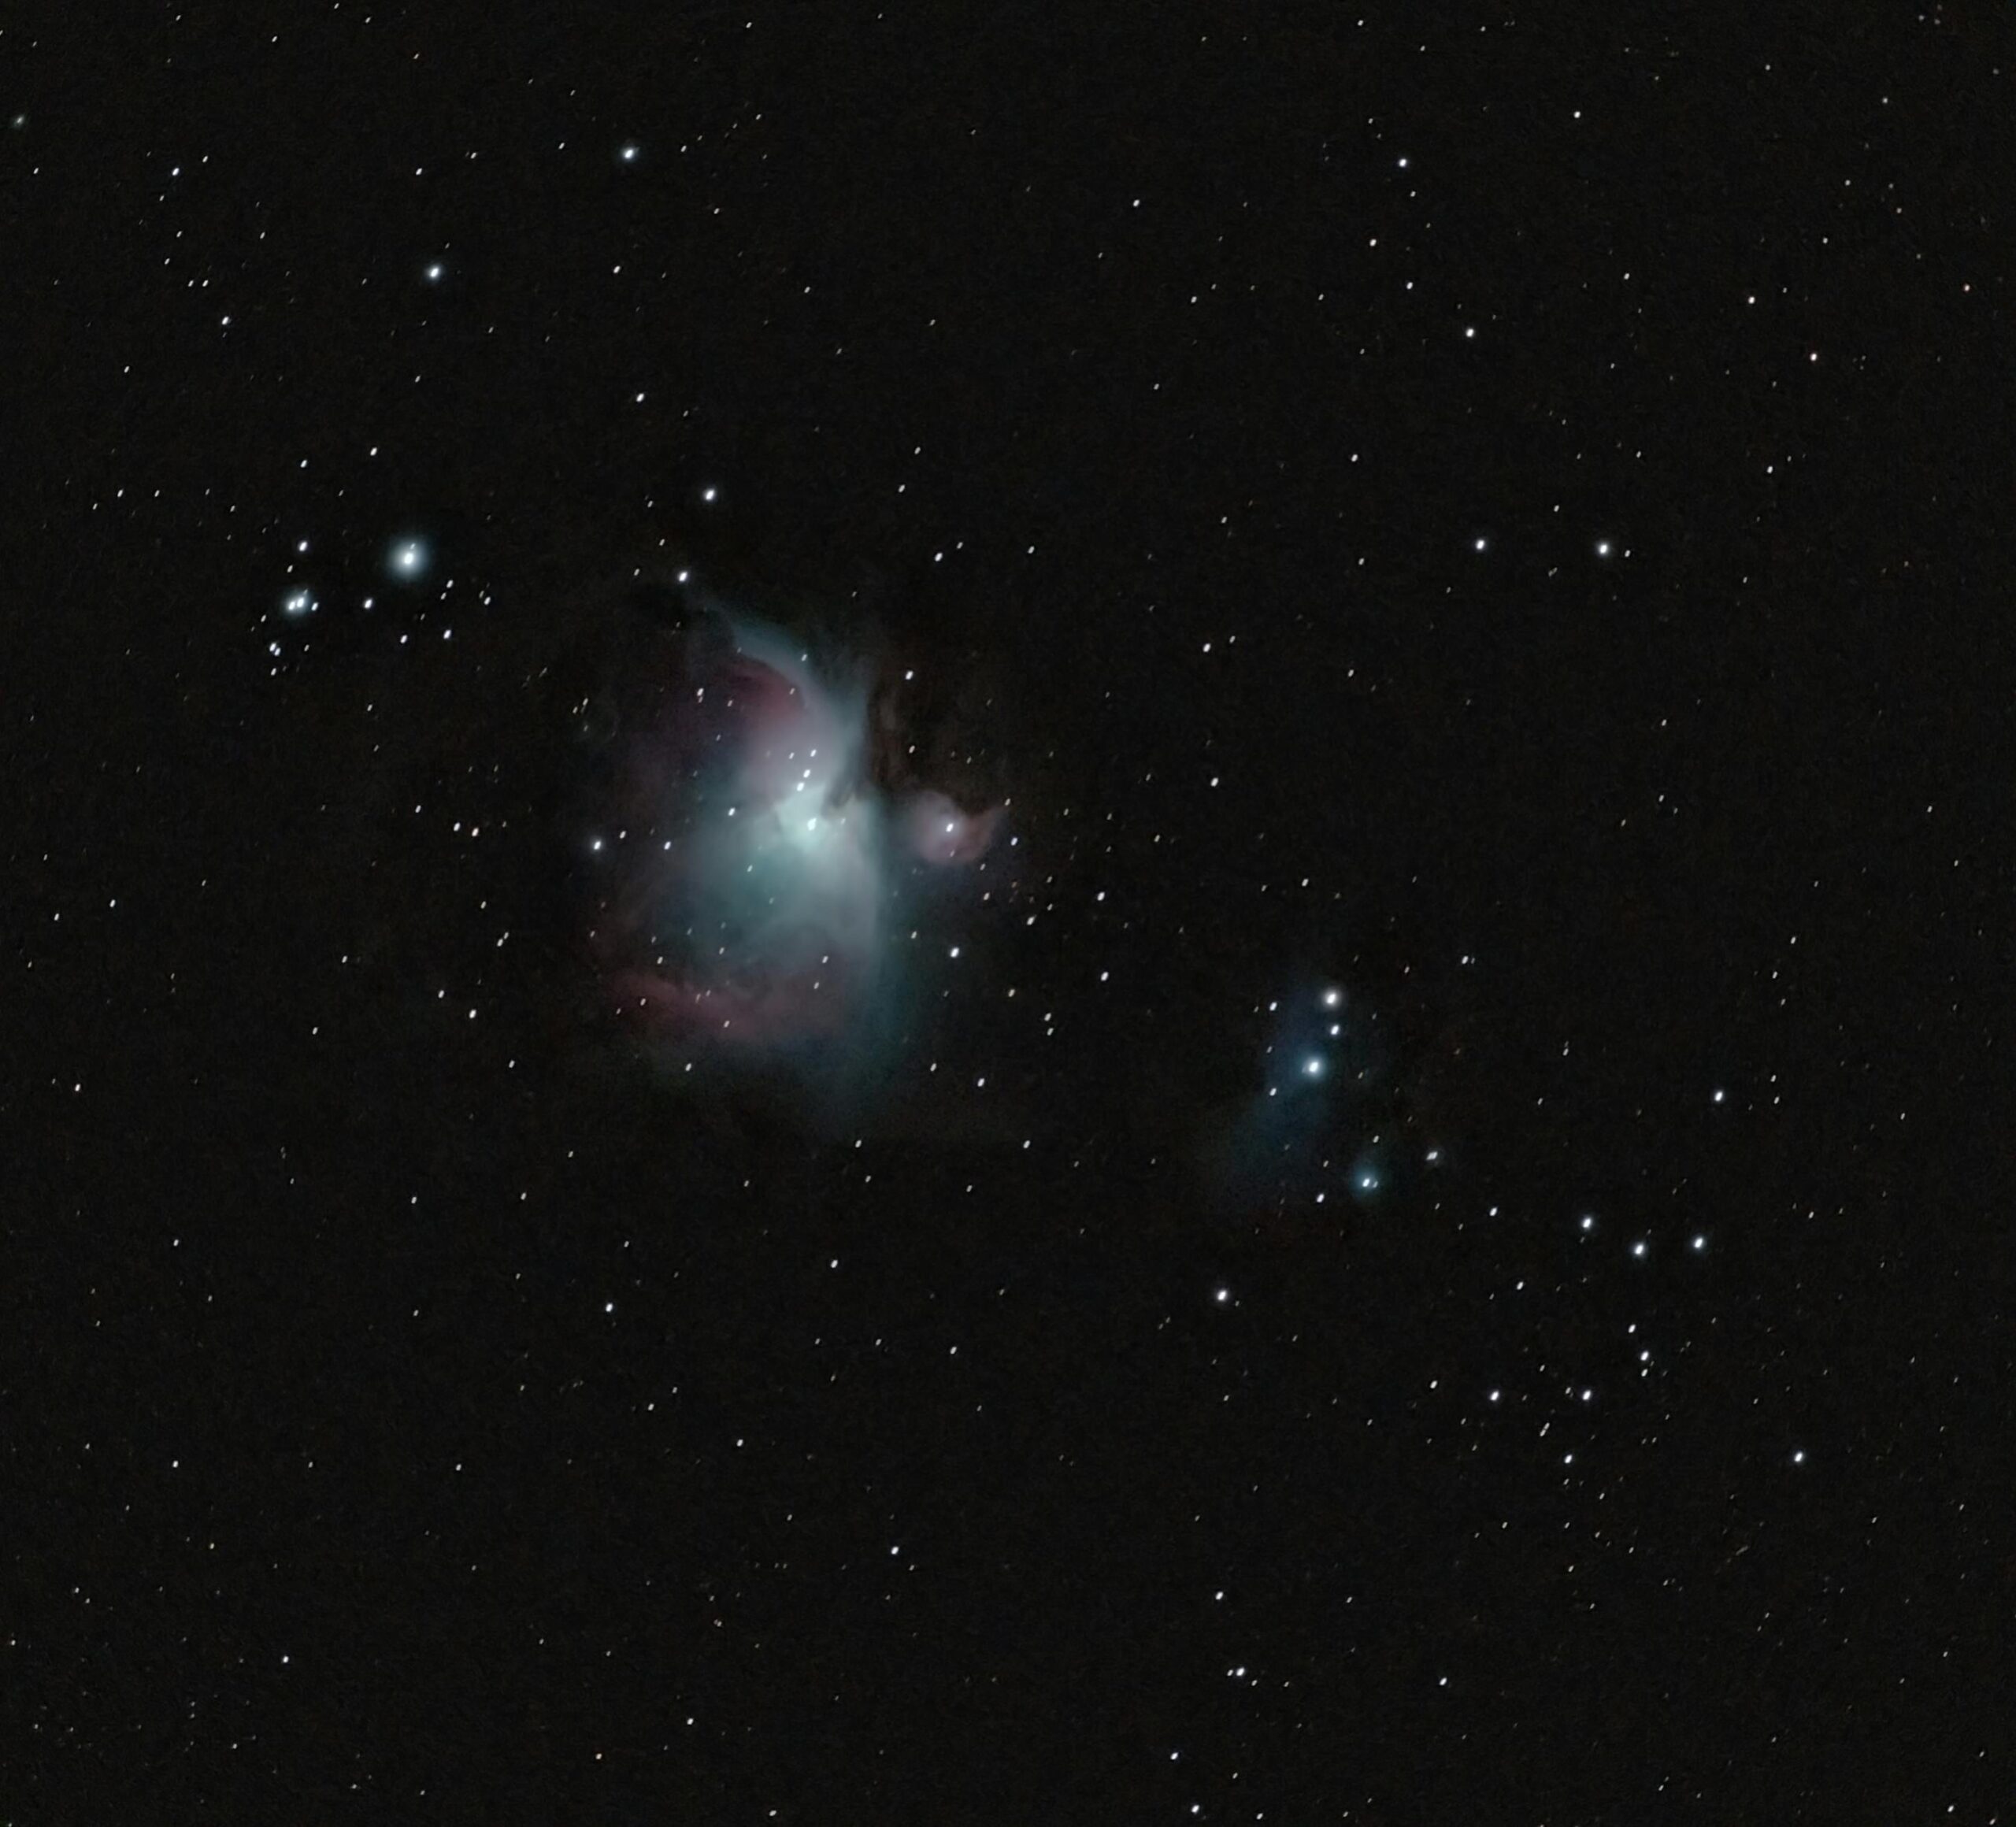
- Orion Nebula (M42)
- Andromeda Galaxy (M31)
- Pleiades (M45)
These are easier to see and less frustrating for beginners.
2. Let Your Eyes Adjust
Give your eyes 15–20 minutes in the dark. Avoid phone screens. This helps you notice faint details that disappear at first glance.
3. Draw the Star Field First
Stars are your map.
- Lightly mark the brightest stars
- Keep their spacing accurate
- Don’t rush this part
Once stars are right, everything else falls into place.
4. Add the Object Shape Slowly
Now sketch the deep-sky object itself.
- Use very light pencil strokes
- Build brightness in layers
- Smudge gently for soft areas
- Leave faint parts almost invisible
If you’re unsure, leave it lighter. You can always add more later.
5. Observe, Look Away, Observe Again
This is the secret.
- Look at the object
- Look at your paper
- Look back again
Your brain fills in more detail each time.
6. Label and Note Conditions
Write down:
- Object name
- Date and time
- Telescope and eyepiece used
- Sky quality (clear, hazy, moonlight)
These notes matter later.
Common Mistakes to Avoid
- Copying images from the internet
- Making everything too dark
- Rushing the sketch
- Expecting photo-like detail
Your sketch should match your view, not a long-exposure photo.
Pros & Cons of astronomical sketching
| Pros | Cons |
|---|---|
| Improves observing skills | Takes patience |
| Helps you notice faint detail | Can feel slow at first |
| No expensive gear needed | Cold nights can be tough |
| Builds a personal observing log | Requires practice |
Real-World Examples
Beginner observer: Sketches Orion Nebula and notices more structure after 30 minutes than in previous quick looks.
Experienced observer: Uses sketches to compare galaxy shapes under different skies.
Casual stargazer: Keeps a notebook of favorite objects instead of photos.
Each sketch tells a story of that night.
FAQs (People Also Ask)
Do I need to be good at drawing?
No. Stick figures work. Accuracy matters more than beauty.
Can I sketch using binoculars?
Yes. Binocular sketches are great for star clusters and large objects.
How long should one sketch take?
Anywhere from 15 minutes to over an hour. There’s no rule.
Should I sketch at the telescope?
Yes. Memory fades fast. Sketch while observing.
Can I sketch digitally?
You can, but paper is easier and safer in the dark.
Final Verdict
Astronomical sketching isn’t about art—it’s about attention. It trains your eyes, sharpens your mind, and helps you truly see the universe. If you enjoy stargazing and want to connect more deeply with what’s in your eyepiece, sketching is one of the most rewarding habits you can build.